by HuggerMugger
This summer most of us would go out on vacations and you would't want to miss capturing these special moments. This is the reason why everyone loves taking photos that we would surely cherish for a long time. Nowadays there are several cameras available in the market, making it very difficult to decide which one to buy. I believe that there is a camera for you that would fit your need and your budget. Anyway the important thing is the memory is captured and you can share them to the world.
These are the common questions that we always hear.
This summer most of us would go out on vacations and you would't want to miss capturing these special moments. This is the reason why everyone loves taking photos that we would surely cherish for a long time. Nowadays there are several cameras available in the market, making it very difficult to decide which one to buy. I believe that there is a camera for you that would fit your need and your budget. Anyway the important thing is the memory is captured and you can share them to the world.
These are the common questions that we always hear.
How many megapixels?
Does it shoot video at 1080p of full HD?
Wide lens? Fast lens?
Lowlight?
Do I really need a DSLR?
What camera do I need for travel?
Do I need a waterproof camera?
Before you plan your purchase always consider your budget. Set an amount on how much you're willing to spend. Where are you planning on using your camera? For travel or casual shooting?
Today I will be discussing about the 2 different types of cameras that I own, the DSLR and point and shoot camera.

I currently own 3 digital cameras. For the past several years I’ve accumulated and sold some of my cameras. It have left me 3 cameras in my possession which I found very useful for my lifestyle. First one is the Nikon D80, next is the Sony DSC-W200, and the last is Olympus 720sw. All 3 cameras have its pros and cons. I’m not going to dive into technicalities, I’ll try to explain the reason I kept those cameras over the years. The first camera I’ll be discussing is the Nikon D80. It’s a Digital SLR with interchangeable lens. I owned this camera since 2007, coming from his smaller brother D40.
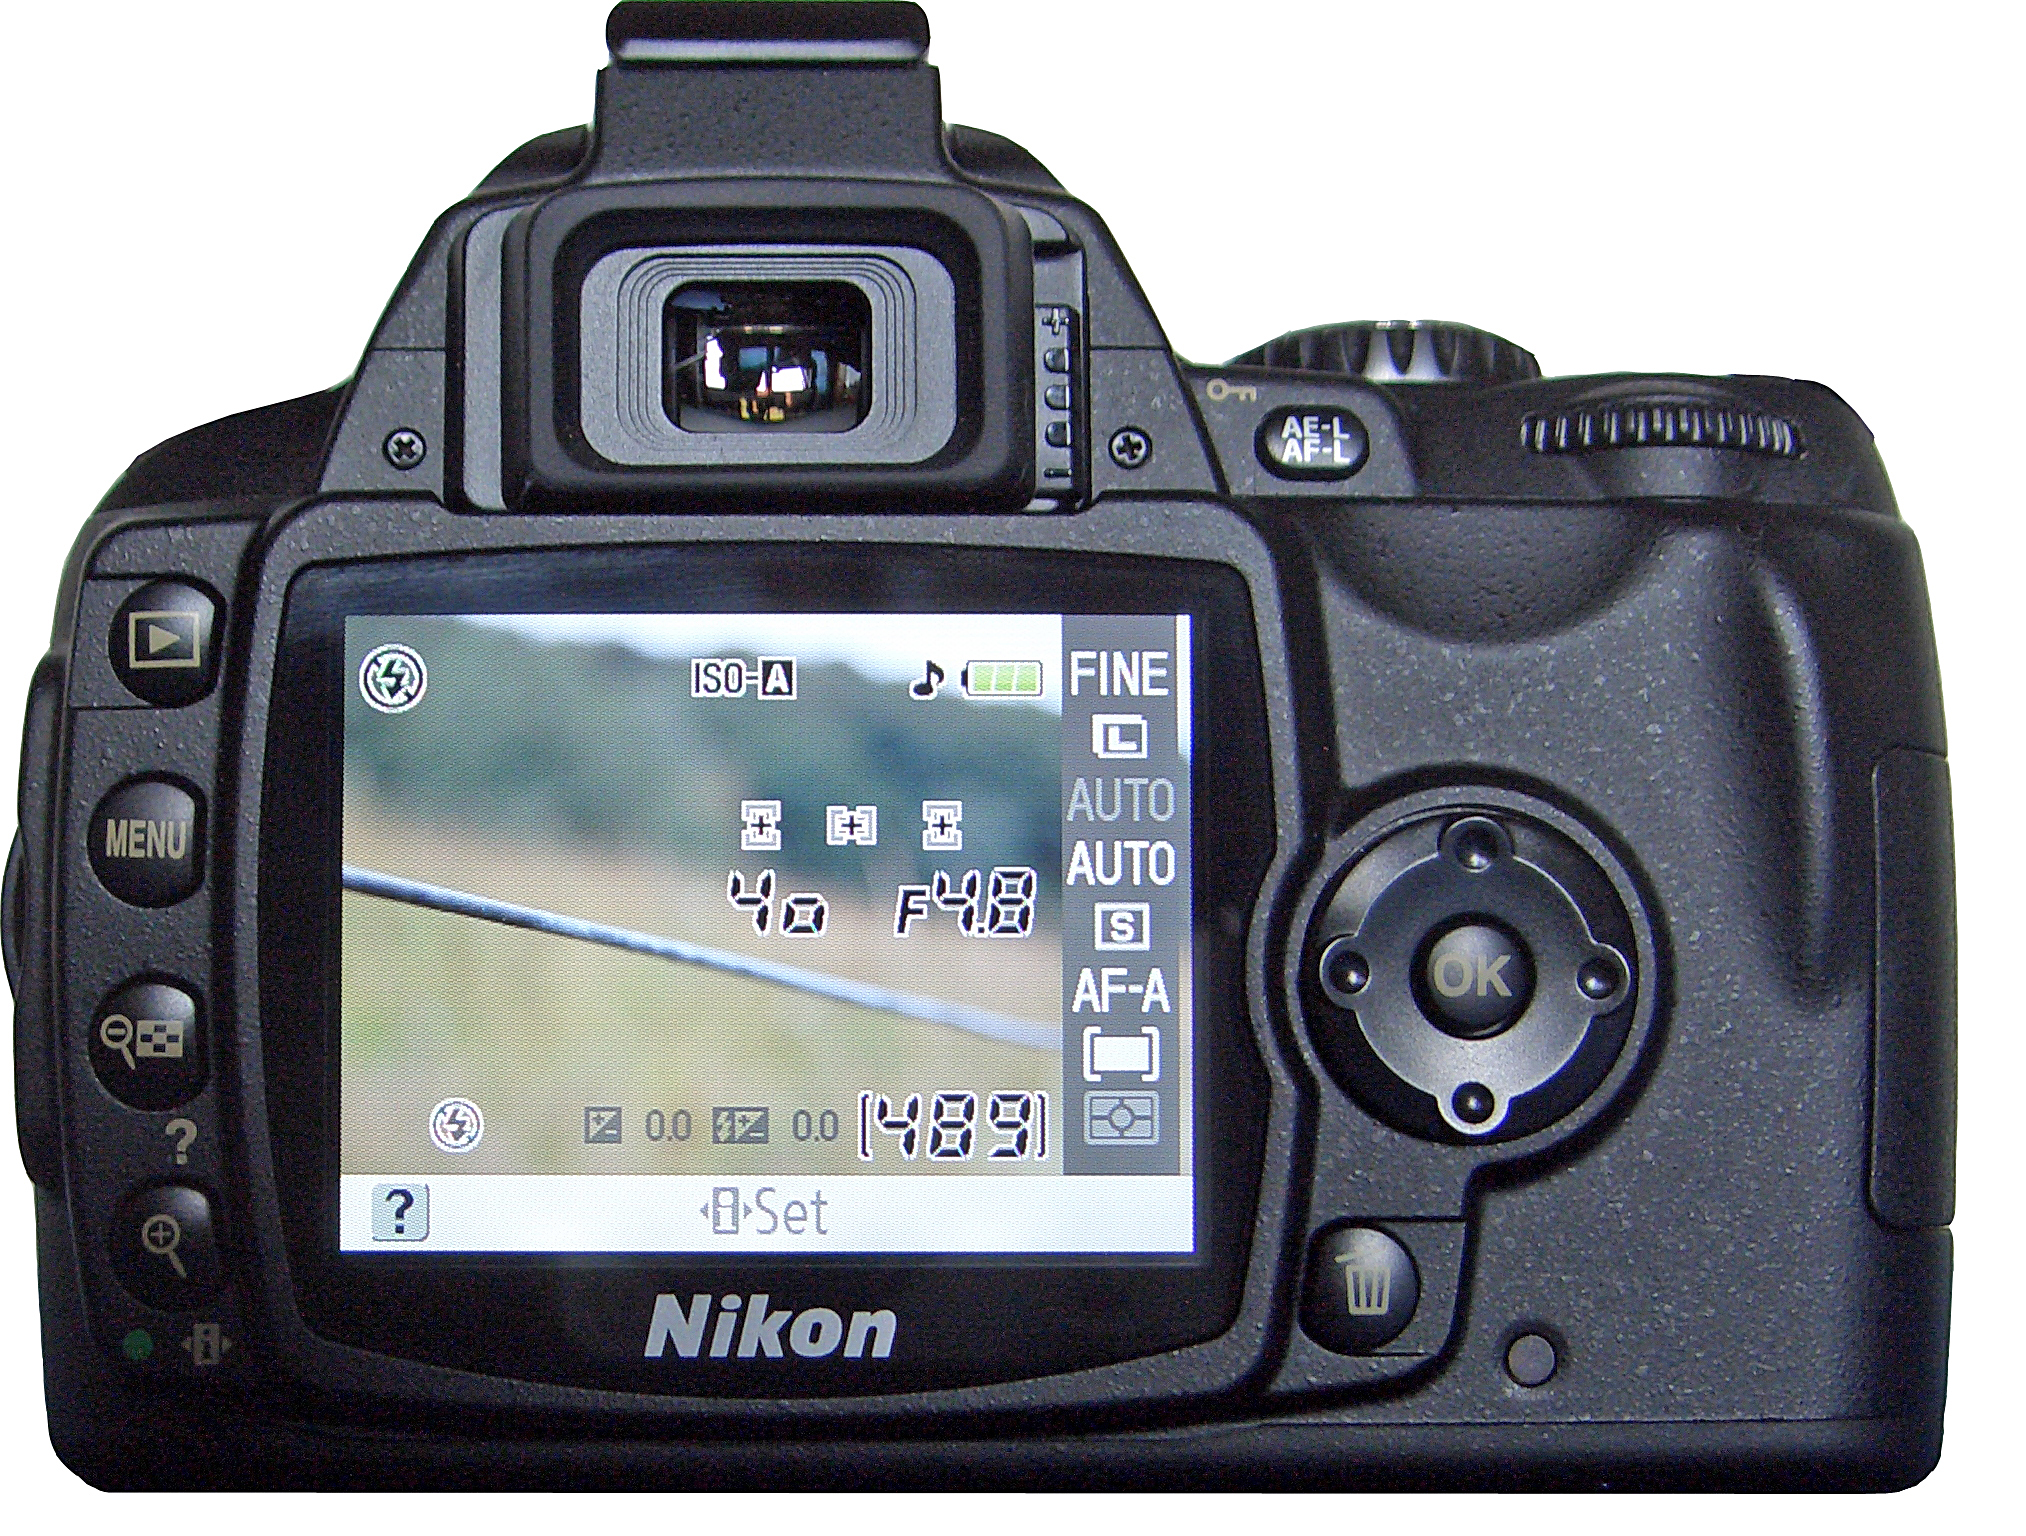 |
Back of the D40 (less buttons)
|
 |
| Back of the D80 |
 |
| Top Display of the D80 |
I love all those three cameras that I just mentioned above. But now I’m currently searching for another camera. Here’s the list of features I’m looking for my new camera.
a. BSI (back side illuminated CMOS sensor) – it’s a new type of CMOS sensor that was commonly used before by lowlight security cameras. Sony is currently using this type of CMOS sensor with their new cameras. Its called the Exmor R.
b. Full HD recording – wouldn’t it be nice to have a camera that shoots 1080P 60fps video at a bitrate of 24Mbps? Well for me camcorders are out. Hmm.. BSI CMOS and 1080P.. sounds like a match.
c. Compact – I just don’t like lugging around a camera bag with me while I’m strolling in a mall. I just want to slip it inside my pocket or bag.
d. Manual exposure mode – Don’t ever let full auto control your every shot. There’s always a instance that you want to manually set the shutter or the aperture for the scene you’re capturing. Its even better if you have aperture priority or shutter priority in the dials..
e. Optical Image Stabilization – since were looking for a compact camera, bringing a tripod alone defeats that purpose. Always double check this because there are companies marketing their camera with built-in stabilization. Later you will find out that its only Electric Image Stabilization. There will be no lens or sensor shift here since its trying to process the stabilization electronically. Believe me it’s not that good compared with Optical Image Stabilization. This is a must if you planning to taking videos from your camera.
f. Optical Zoom – when checking the zoom specification of the camera always be skeptical when there’s a word there with 100x zoom. Because they’re trying to hide the truth that its optical zoom is just 3x. 100x is always the digital zoom. Let me explain to you what digital zoom is. Its like trying to zoom in your photo with Photoshop. While zooming in the image digitally it will really mess up your shot. So I suggest disabling this feature if you have this turned on with your camera. 5x, 10x and 16x optical zooms are recommended ranges. But if you planning on using it for travel I suggest getting a 16x optical zoom camera. I also recommend checking the focal length of the camera. At least 24mm wide.
g. LCD screen size – the de-facto size for the screen nowadays is 3.0 inches. Anything lower than that is like purchasing a camera model from last 2 years ago. Always check if the LCD is viewable on any angles and under the sun. A touch screen is very welcome addition especially the touch to focus feature. If it’s a touch screen camera make sure that it’s very responsive. Make sure it’s a capacitive type touch screen so it wont be a burden digging the through the menus. Also check the accuracy of the colors reproduced on the LCD screen.
h. Image Quality – of course image quality is everything always check if the camera is properly reproducing the right color tones? Is it overexposing or underexposing the image? A 16 megapixel camera is not any better than 6 megapixel camera. The image quality always relies on the sensor size, optics and the lens coating of the camera. So always don’t base your purchase just because of the bigger megapixel value.
i. Price Range - the price range I’m current looking at will be from Php15,000 to Php20,000. However, I can go lower if I can find the right camera or even go a little higher its Php1000 to Php2000 more.
Upon days scouring the web for the perfect camera, here are some of the cameras I gathered.
a. Canon S100

b. Sony Hx9v

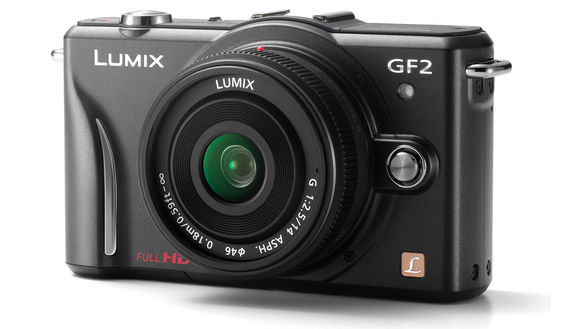
c. Panasonic GF2 with 14mm pancake lens
d. Fuji X10

e. Canon Powershot SX230

On my next blog, I'll be adding more cameras from the list and I'll be discussing the Pros and Cons from the 5 cameras I selected. Hopefully I'll be able to purchase one of these cameras this week and I'll be posting an indepth review on why I bought the camera. If you have any question feel free to put a comment.
Thanks!